
Why setup beats gear hoarding
You can buy every BLW accessory on the internet and still struggle if the chair leaves feet dangling, the tray is a sticky maze, and food portions arrive as a mountain. Setup is the difference between exploration and chaos.
Use this as a repeatable checklist—not a one-time nursery project. Revisit it when your baby grows, when you switch chairs, or when mess suddenly spikes again.
Checklist A: Safety and positioning
1. Upright, supported sitting
BLW assumes your baby can sit with minimal support and has steady head control. In the chair, hips should be back, trunk upright, and the tray at a comfortable height—not shoving into the armpits or sitting so low that shoulders shrug.
2. Footrest adjusted
Aim for roughly 90-degree angles at hips, knees, and ankles when possible. Supported feet improve stability and chewing focus. If your chair lacks a footrest, look for compatible accessories or a model that includes one as babies grow.
3. Straps every time
Buckle fully even for “just a snack.” Climbing mid-grape is not the story you want. Check that straps are snug but not digging, and wipe sticky buckles so they still click reliably.
4. Supervision distance
Stay within arm’s reach. Phones down for the first bites of a new food. Choking response knowledge matters more than any product—take an infant CPR class if you have not already.
5. Clear the danger radius
Move hot drinks, sharp utensils, tablecloths that can be yanked, and pet bowls out of grab range. Pets should not be under the chair competing for dropped food during meals.
Checklist B: Tray and containment
6. Clean, dry tray base
Crumbs under a mat cause sliding. A thirty-second wipe before the mat goes down prevents mid-meal mat surfing.
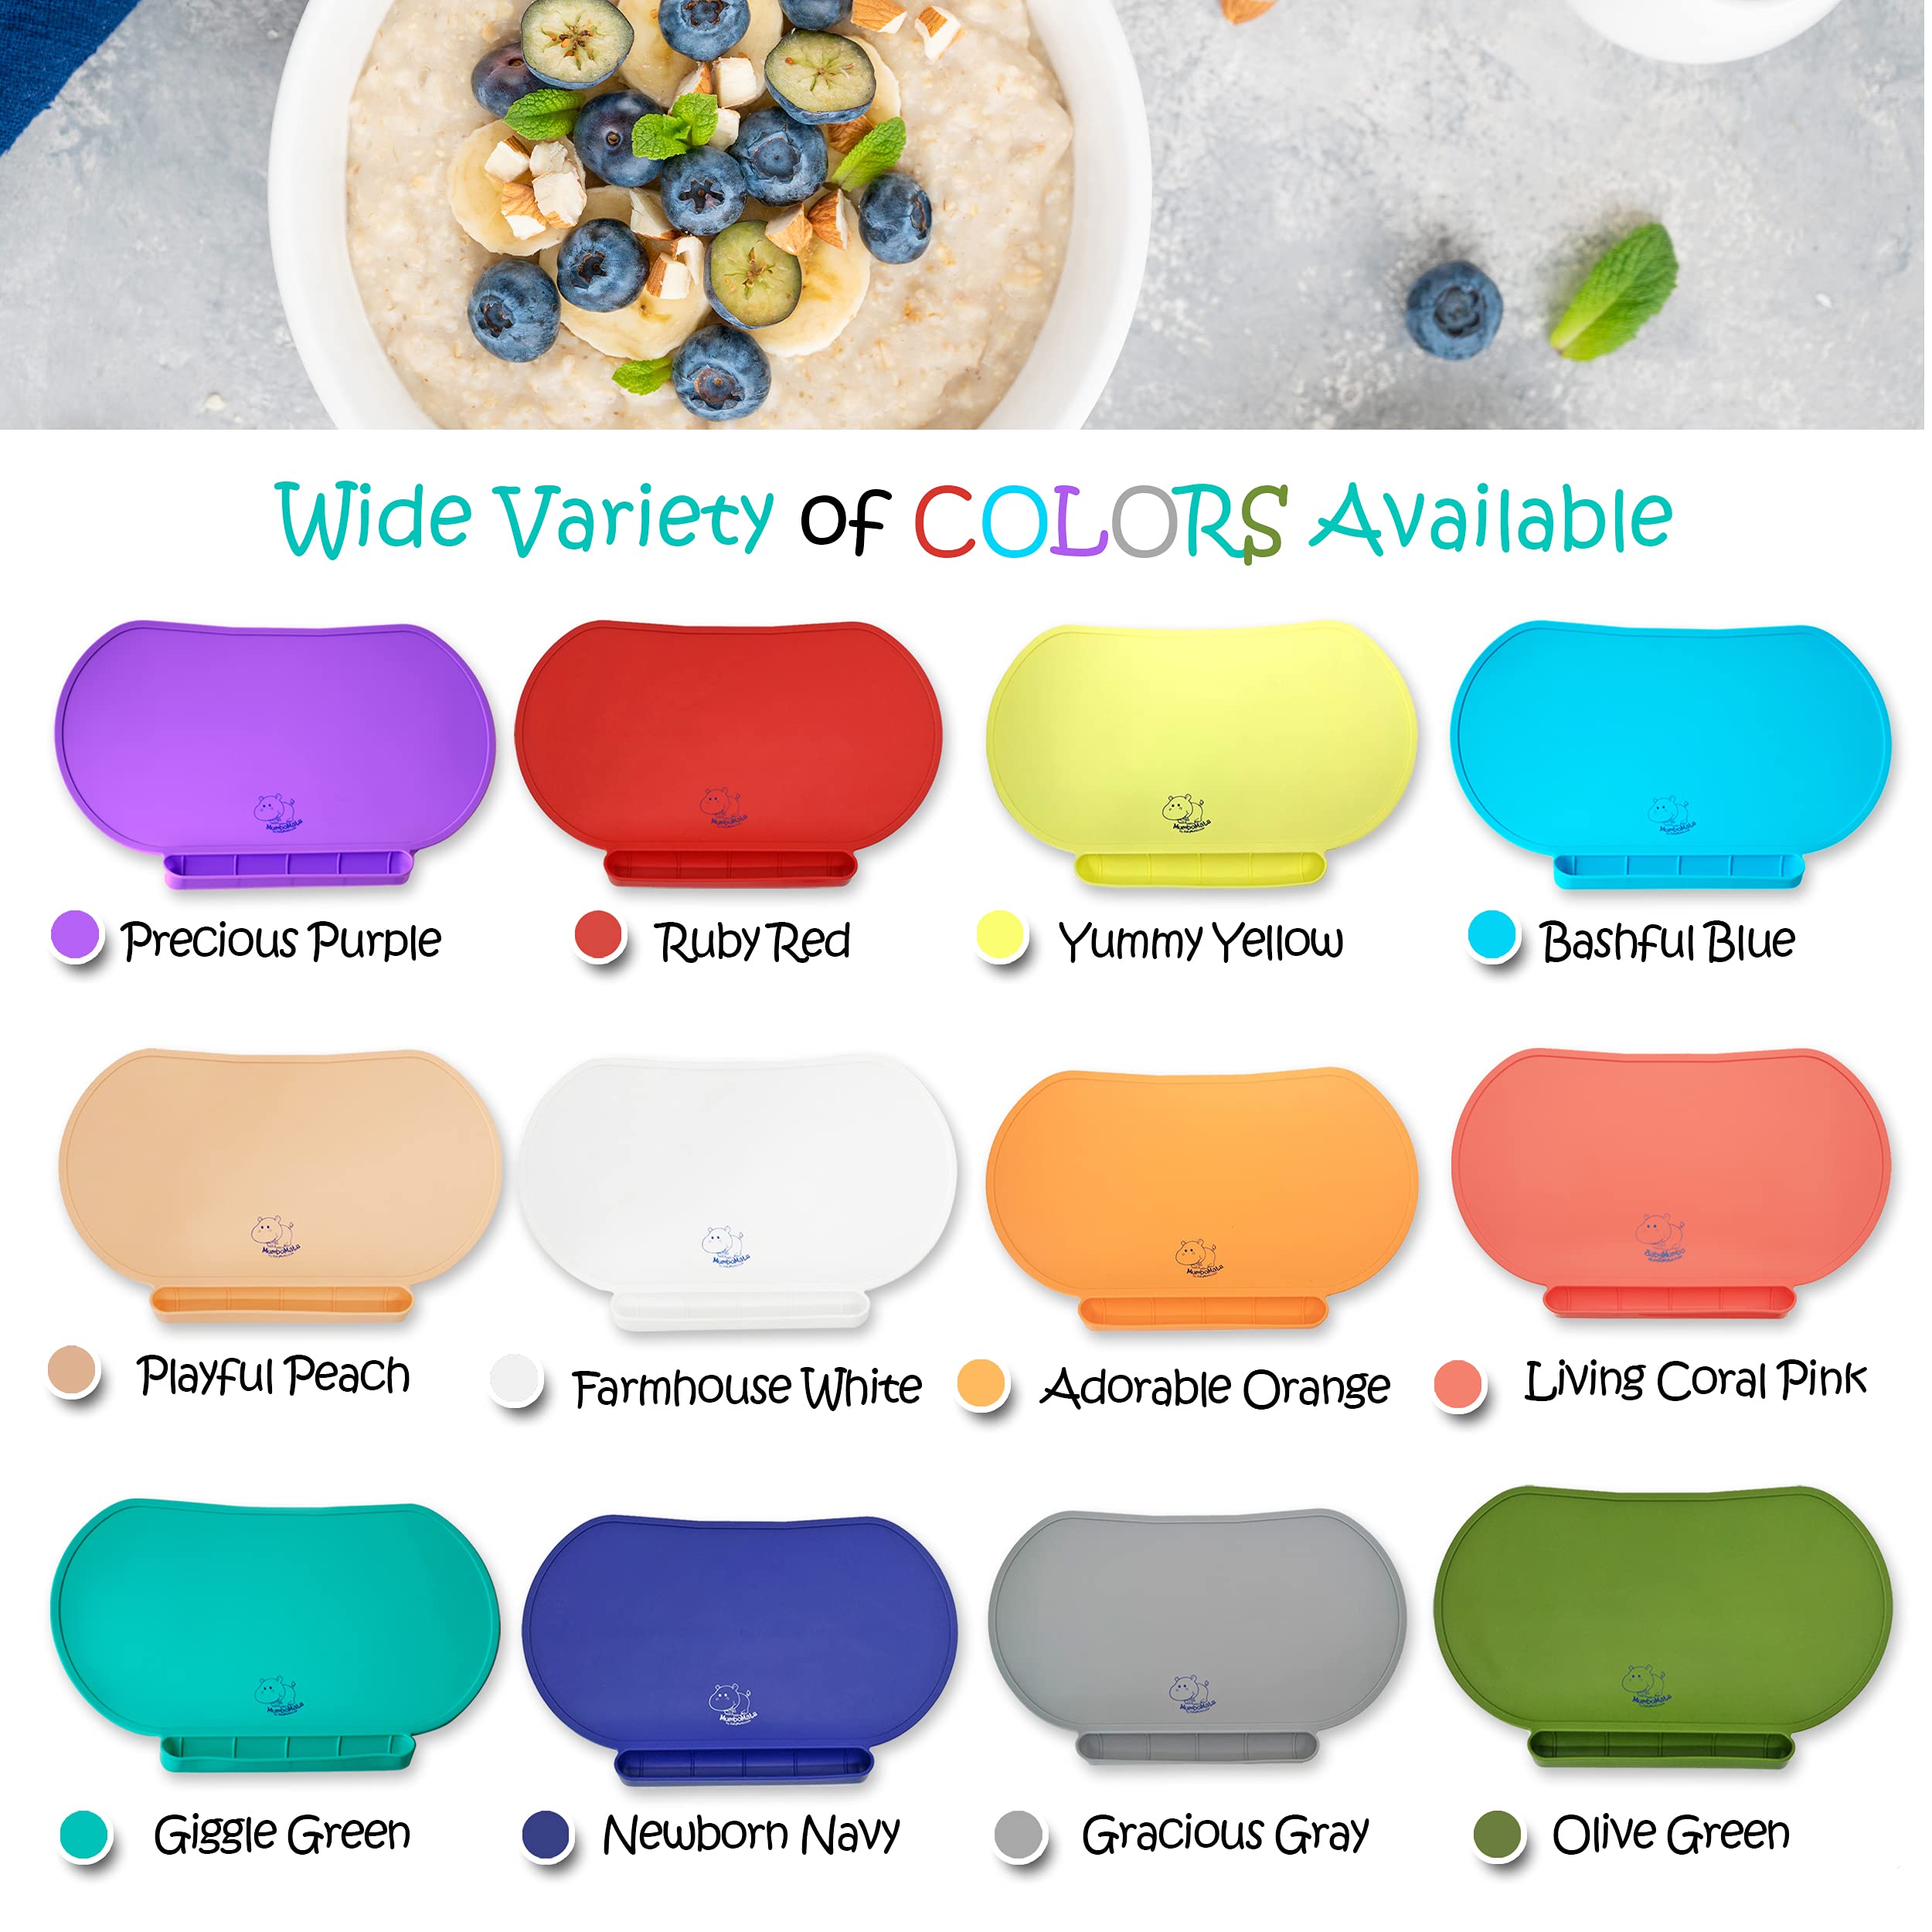
7. Silicone placemat with raised edges
Create a defined plate zone. Raised edges keep wet foods from migrating into hinges. A front spill tray catches the food that would otherwise hit the floor—especially useful in BLW when kids push food forward while exploring. Feature details live in best silicone baby placemat features; floor strategy is in stop baby food from hitting the floor.
8. Optional floor mat
A small washable mat under the chair completes the zone. Keep it modest so it stays in use.
Checklist C: Clothing and comfort
9. Sleeved bib or smock
Expect food on forearms. Sleeves save laundry and keep skin less sticky.
10. Comfortable temperature
A chilly kitchen makes kids restless; an overheated one invites meltdowns. Aim for neutral comfort so food—not climate—is the focus.
11. Washcloth staged
Pre-wet a cloth and park it nearby. Ending the meal cleanly starts before the first bite.
Checklist D: Food staging for BLW
12. Soft, graspable shapes
Think finger-length sticks of soft cooked vegetables, ripe fruit spears, and shredded soft proteins. Avoid hard raw pieces, whole nuts, popcorn, and round firm foods that increase choking risk—prepare foods appropriately for age and skill.
13. Small starter portions
Two or three foods, small amounts. Refill based on interest. Over-plating invites tossing and sensory overwhelm.
14. Water available in tiny amounts
Offer an open cup or straw cup with a small pour. Place it toward the back of the mat. Practice beats perfection.
15. Allergen planning (with your clinician)
Follow your pediatrician’s guidance on introducing common allergens. This checklist is about setup logistics, not medical advice. Keep notes on what was offered and any reactions as advised by your care team.
Checklist E: Mealtime flow
- Buckle, bib, mat, then food—same order every time.
- Sit with your own plate when possible; modeling matters.
- Allow touch and smash; that is learning, not misbehavior.
- If throwing escalates, reduce what’s available and keep your voice calm.
- End while the mood is still mostly okay when you can—don’t push to empty-tray perfection.
- Hands and face wipe before unbuckling.
- Mat crumbs to trash, wipe or dishwasher, floor spot-clean, reset for next meal.
Checklist F: Travel and alternate locations
Pack a rollable silicone mat, bib, and wipes for restaurants and grandparents’ houses. Wipe their tray, deploy your mat, and you have exported your home system. See restaurant dining with a toddler for the social side of the same setup.
At someone else’s table, prioritize safety straps and foot support even if the chair is unfamiliar. If the chair is unsafe, use a lap strategy carefully or choose a booth seat with close supervision—not every environment deserves a full BLW experiment.
Common setup mistakes
- Feet dangling for months because the footrest was never adjusted
- Skipping the mat and scrubbing tray hinges daily
- Giant portions that guarantee floor coverage
- Distraction screens that turn chewing into background noise and reduce awareness
- Inconsistent buckle habits “because it’s just toast”
- No reset ritual, so every meal starts in yesterday’s stickiness
How this fits the bigger BLW picture
Setup supports the goals of baby-led weaning: autonomy, sensory learning, and family meals—without requiring a spotless kitchen. For mindset, food ideas, and cleanup philosophy, read the ultimate mess-free BLW guide. For material choices on the tray, compare silicone vs plastic placemats.
Printable-style summary (save this)
- Hips back, feet supported, straps on
- Dry tray + silicone mat with raised edges (spill tray preferred)
- Sleeved bib + washcloth ready
- Small soft portions, water at the back
- Stay within arm’s reach
- Wipe, tip crumbs, reset the zone
Run that list twice a day and BLW stops feeling like an extreme sport.
If you want a placemat built around raised edges and a front accident tray, explore the Mumbo Mat or buy it on Amazon.
Sample first-week BLW schedule (setup-focused)
Day one does not need a dozen new foods. Offer one soft food in a calm window after a milk feed—not when your baby is frantic with hunger. Confirm the checklist: straps, feet, mat, bib, washcloth. Keep the meal under 15–20 minutes if attention fades.
Midweek, add a second food and practice the open cup with a tiny sip. Notice whether the footrest still fits as your baby scoots. End of week, invite a shared family meal where your baby sits with the same mat routine while you eat. Familiar choreography lowers protest when restaurants enter the picture later.
If mess spikes, revisit portion size and tray dryness before buying more gear. Most “setup failures” are habit drift, not missing products. Re-run the buckle-bib-mat-food order until it is muscle memory.
When to adjust the chair as babies grow
Every few weeks, reassess seat depth and footrest height. A chair that fit at six months can leave ankles dangling at nine. Watch for sliding forward, leaning hard on the tray, or frustration that looks like “picky eating” but is really unstable posture.
As skills improve, you may move from mat-as-plate toward a shallow bowl on the mat. Keep raised edges until tossing calms. Transition gradually; sudden gear changes mid-hungry-meal invite chaos.