
Is your child ready?
There is no single right age. Many kids are happy on a balance bike between two and four and move to a pedal bike somewhere between four and seven. Readiness matters more than birthdays. Good signs include:
- They can run, climb, and stop without tumbling often.
- They are curious about bikes—asking, watching other kids, or pushing a scooter.
- They can listen to and follow two-step directions (“look ahead and squeeze the brake”).
If your child is scared or not interested, wait a few weeks and try again. Pushing a reluctant rider usually adds weeks, not saves them.
Get the bike size right
A bike that is too big is the number-one cause of frustration. Kids grow fast, and it is tempting to buy a size up. Don’t. For learning, your child should be able to sit on the seat with both feet flat on the ground and their knees slightly bent.
Rough wheel-size guide (always check inseam and the maker’s chart):
- 12-inch — about ages 2–4
- 14-inch — about ages 3–5
- 16-inch — about ages 4–6
- 20-inch — about ages 6–9
Lighter is better. A heavy steel bike is hard for a small child to control or pick up. Used bikes from neighbors or local marketplaces are a great way to size up affordably as kids grow.
Helmet fit: the 2-V-1 check
Buy a helmet with a CPSC certification sticker, and fit it every ride with the simple 2-V-1 check recommended by highway safety experts:
- 2 — The helmet sits two finger-widths above the eyebrows, level on the head (not tilted back).
- V — The side straps form a V just under and slightly in front of each ear.
- 1 — Only one finger fits between the chin strap and chin.
Make the rule “helmet on before the bike leaves the garage,” every time, and wear yours too. Replace a helmet after any real crash. Closed-toe shoes matter as well; flip-flops slip off pedals.
Pick a forgiving place to practice
Good spots are flat or very gently sloped, smooth, and free of traffic: an empty school parking lot on a weekend, a tennis or basketball court, or a quiet paved path. Short, firm grass is great for the first gliding sessions because falls hurt less, though it takes more effort to roll. Avoid your street, driveways with cars, and busy parks for the first few tries.
The balance-first method
Training wheels teach kids to pedal but not to balance, so the switch to two wheels can feel like starting over. The balance-first approach usually goes faster:
- Remove the pedals (or use a balance bike) and lower the seat so both feet are flat on the ground.
- Walk the bike — Your child sits and walks it forward, steering around a few cones or chalk marks.
- Scoot and glide — They push off with both feet and lift them for a second or two. Count the glide out loud.
- Lengthen the glide — Challenge them: “Can you glide from this line to that crack?” A very gentle downhill helps.
- Steer while gliding — Wide curves, then figure-eights.
Once they can glide for several seconds and steer, they have done the hard part. That may take one session or several weeks.
Adding pedals
Put the pedals back on and keep the seat low enough that their toes can still touch the ground. Teach the “power pedal” start: rotate one pedal up to about the two o’clock position, put a foot on it, push down hard, and lift the other foot onto its pedal. That first push gives enough speed to balance.
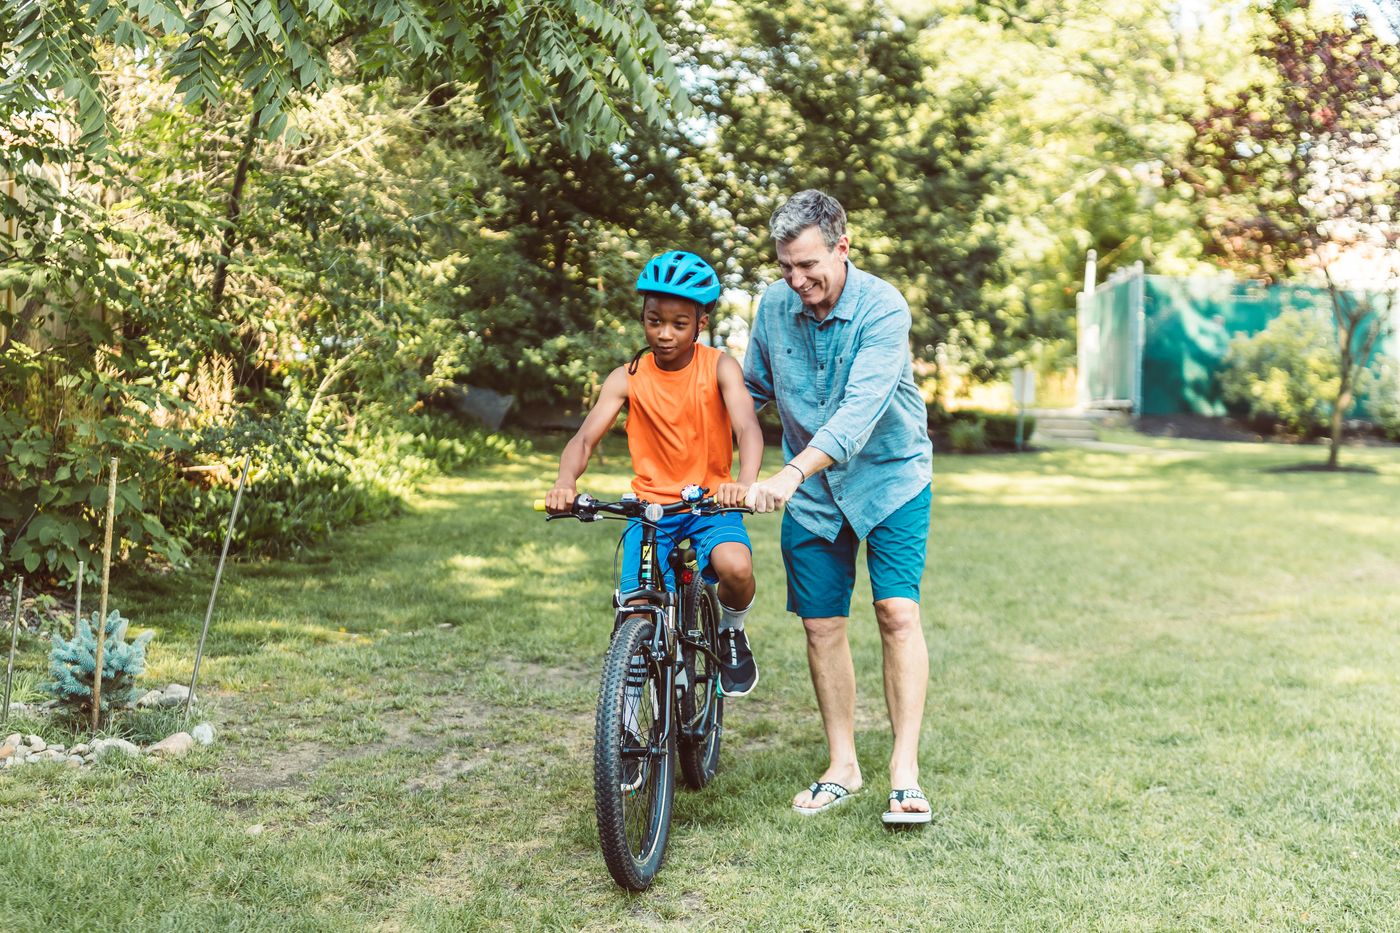
If you help, hold your child gently by the shoulders or the back of their shirt—not the handlebars or the seat. Holding the handlebars steers for them, and holding the seat keeps them from feeling balance. Let go for short stretches and tell them afterward: “You just rode ten feet by yourself.”
Coach their eyes: “Look where you want to go, not at the front wheel.” Kids steer toward whatever they stare at.
Teach stopping early
Kids relax when they know they can stop. Practice braking before speed. With coaster brakes, they pedal backward; with hand brakes, they squeeze both levers evenly. Call out “Stop!” at random during practice and cheer for quick stops. Until braking is solid, they can drag both feet to stop—not ideal, but safe on a low seat.
Keep sessions short and fun
Fifteen to twenty minutes is plenty for young kids. Stop while it is still going well, not after the third fall. Add small games: ride through a chalk “car wash,” deliver a stuffed animal to Dad, or race the slowest possible ride. More ideas for quick outdoor time live in outdoor play ideas that take 20 minutes.
Siblings and friends can motivate, but they can also add pressure. If a younger sibling learns first, keep comparisons out of it entirely.
When falls (and tears) happen
Falls are part of learning. Stay calm, check for injury, and keep your voice light: “Oof. That surprised you. Let’s look at your knee.” Clean scrapes with soap and water and cover them with a bandage; a basic home first aid kit covers most bike bumps. Knee and elbow pads can help nervous riders feel braver.
After a fall, offer a choice: “Do you want to try one more glide or be done for today?” Ending on a small success matters more than ending on a long ride.
Words that help (and what to skip)
- Help: “You’re figuring it out.” “Your glide was longer that time.” “Look ahead—nice.”
- Skip: “Don’t fall!” (it focuses them on falling), “It’s easy,” and “Your cousin learned at four.”
After they ride: basic road rules
Riding alone is the start, not the finish. Before neighborhood rides, practice stopping at every driveway and corner, riding on the right, walking bikes across streets, and listening for cars. Young kids should ride with an adult until they show steady judgment, which often takes years, not weeks.
Put it into practice this week
Check the bike size and lower the seat. Fit the helmet with the 2-V-1 check. Take off the pedals and do two short gliding sessions in a flat, safe spot. Add pedals only when glides last several seconds.
The bottom line
The right size bike, a well-fitted helmet, balance before pedals, short sessions, and calm coaching turn learning to ride into a win. Let your child set the pace, and celebrate every longer glide.